Art For Cycle 2
Spring Has Sprung
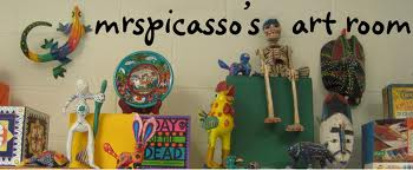
This is an art project that was inspired by one of my favourite Blogs:
Mrs. Picasso's Art Room
I highly recommend visiting this site regularly for lesson plan ideas, themed projects and instructions for working with a variety of different mediums that are designed for all age groups.
This assignment is very interesting because it combines two aspects of learning through art:
1. Learning from an already established artist by viewing his work and exploring his techniques.
2. Imitating those techniques but with the freedom to express the students' own creativity by producing individual works of art. The instructions were designed for Cycle 2 students but could easily be adapted for younger students as well.
Instructions:
Materials:
- 9" x 12" white paper of thicker card stock
- paper scraps of all sorts: newsprint, magazines, scrapbook, construction, etc
- glue, scissors, pencil
- craft bits & bobs: ribbons, buttons, tissue, sparkles, etc.
This project may take several sessions depending on how in depth you would like to explore the history of the artist, the research on birds or how elaborate are the designs of the students.
Step 1: Art History
- Discuss the artist Charles Harper
- the inspiration for his work
- his design techniques, materials used and process of creating
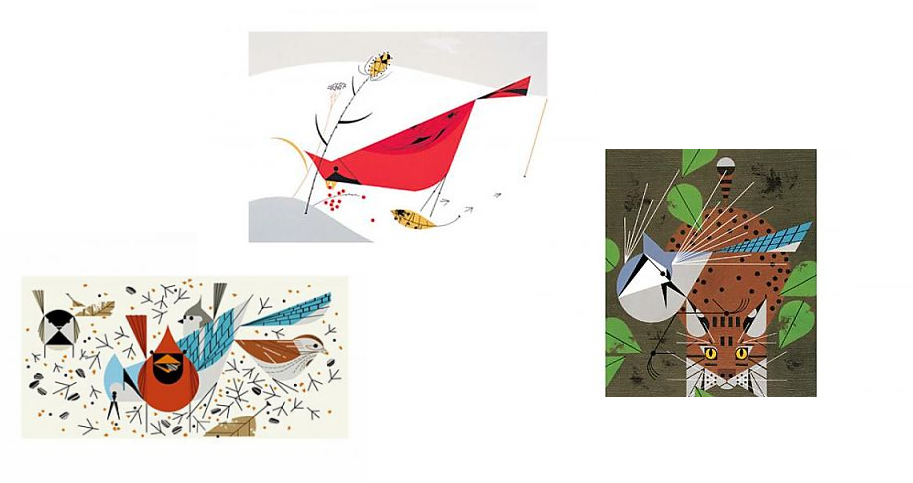
1. Cardinal Closeup
2. Bird Feeders
3. Blue Jay Patrol
Step 2: Bird Research
- View photos of various birds
- The students could research their own variety of birds online and share their findings with the class
- Have the students observe those images abstractly, pointing out the different geometric shapes that make up the body of the bird. For example, an oval for the torso, a triangle for the beak, etc.
Step 3: Creating
- A. Glue various pieces of torn paper to the white card stock in order to create a monochromatic background. Keep patterned prints of paper for the design of the bird.
- B. Next, Add large geometric shapes on top of the background for the bird's body and tail using various patterned paper. Add a wing and a beak. Discuss colour contrasts, complementary colours and design styles. Ask the students why they chose the colours and patterns they did.
- C. Finally, let the students go wild. Add personality and character to their designs by glueing buttons, ribbons, sparkles or whatever treasures they would like. Decorate around the bird by adding clouds or flowers. Outline the bird with a black marker and add legs.
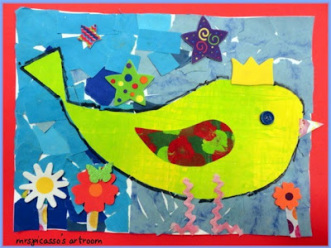
Examples of Students' Art
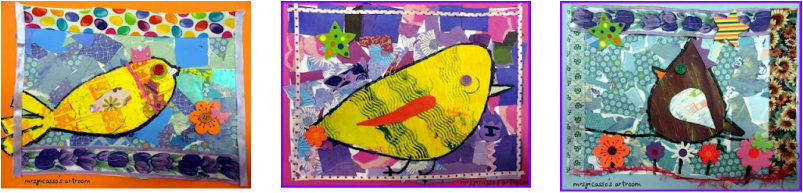
The results will be original to each student! Display their creations around the classroom or on a bulletin board in the hallway. Post pictures of their work on the school's website on an art wall page. Invite other classes to come see the students' artwork and let the students themselves explain how it was created. Maybe another class will be inspired to do the same!
Enjoy!
Enjoy!
Stay tuned for more projects to follow. Coming soon!
